
Okay, we have to admit: calligraphy makes our hearts flutter. There’s something about those beautifully crafted letters–and we can’t get enough of it!

Want to try your hand at calligraphy? It could be daunting at first, but it’s not impossible. You just need to find the right tools, find the time to practice and find it in you to enjoy the process of learning.
Here are some baby steps to get you started in this craft of lettering.
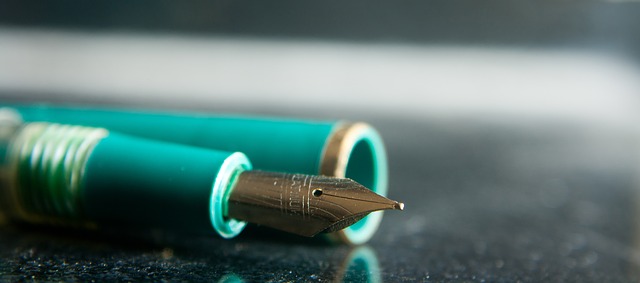
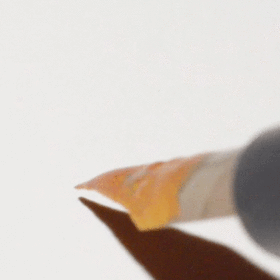
1. Find your supplies
Here’s what you’ll need, beginner letterer! You’ll need a firm nib (great for beginners), a straight pen (don’t go oblique, that’s for experts), tracing paper, a practice grid, black ink, and paper in varying weighs. Calligraphy or lettering guides will also come in handy.
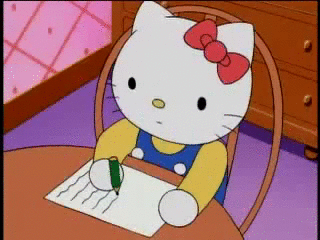
2. Practice and be bad at it
There is a certain art to calligraphy that is a little hard to master. But that’s OK. Make a mess and learn the feel of the pen and the nib. Start with straight strokes, experiment with pressure, with thickness, and find an angle you’re comfortable with. Keep practicing. Keep using your pens. And don’t be afraid to make mistakes!
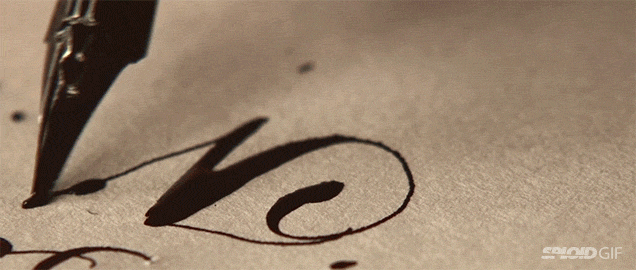
3. Move on to loops
Now it’s time to move on from straight strokes to beautiful looping loops. You can start with the lowercase letter “l,” as it makes for good practice when it comes to upstrokes. Go up without pressure and apply light pressure when going down. You can also practice writing the letter “M”–either in uppercase or lowercase–as it is also good for drills.
4. Are you ready to try the alphabet?
If no, keep doing loops and lines. But if you are…
Get more tracing paper and practice grids. Start with lowercase ascenders (b, d, f, h, k l, t) and do a page for each letter. Move on to lower case descenders (g, j, p q, y). Here’s when the internet comes in handy. Download patterns and drills and practice tracing them.
Instagram is also a good source for inspiration and motivation. Look up patterns and imitate until you get a feel of your own style and aesthetics. The key here is consistency. Keep practicing your strokes, experiment with thickness, and keep doing loops after loops.

5. Again, keep practicing!
You don’t get to master the craft immediately. It’s okay if the lines are awkward or uneven. Keep practicing. Make a mess. Do it bad, that’s okay. Do it well, take a picture and be proud of your progress. Calligraphy is all about patience and practice. Everybody begins at some point, right?
6. Finish the rest of the alphabet
Buy more ink and papers. Keep writing.

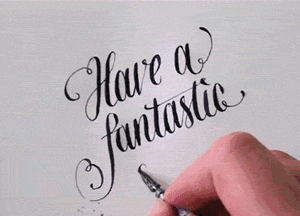
7. Challenge yourself and try out words
Maybe you’re ready to actually write out words and phrases. Try spelling out names. Write short quotes. Experiment with your style. You can look up excellent letterers online and imitate their style. Later, you can find your own rhythm and make a style on your own.
8. Practice
It’s not easy getting the hang of the nibs, since they’re not like normal pens. You have to be familiar with its thickness, with the pressure, with the strokes. It takes time. Keep practicing. Find time to work on your art and don’t worry if you’re not good at it immediately.

Happy lettering!