Pint-sized Pinay. Writer by day, mermaid by night. Loves coffee,…
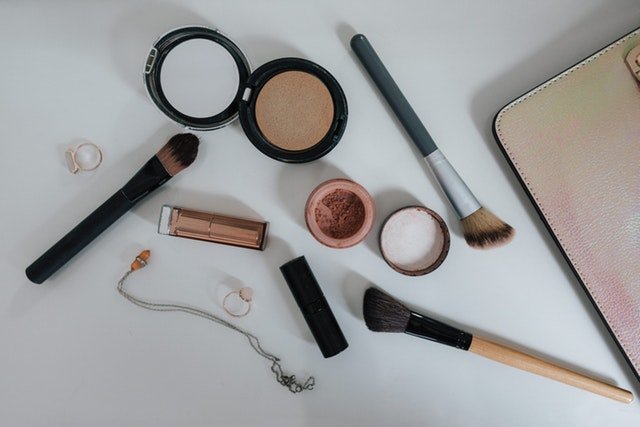
In a world where virtually every beauty-related thing has turned into an eleventy-step, eleventy-product process, it can be hard to believe when someone tells you contouring is pretty darn hard to achieve.
You can achieve basic contour, and your last name needn’t be Kardashian, or you needn’t get a degree in fine arts to get noticeable results. In fact, you can master everyday contouring in just a few minutes, and using just three products.
We create the easiest contouring tutorial for you:
You’ll need: a contour kit (or honestly any brown o taupe-colored powder), an angled brush, a blending brush, blush, highlighter
Step One: Carve, Carve, Carve
To make your cheekbones pop, use and angled contour brush (or a mini brush) to swipe a line of contour powder from your ear to the apple of your cheek. Keep the contour directly on your cheekbone’s bottom edge, so that your brush straddles the area as you apply your contour powder.
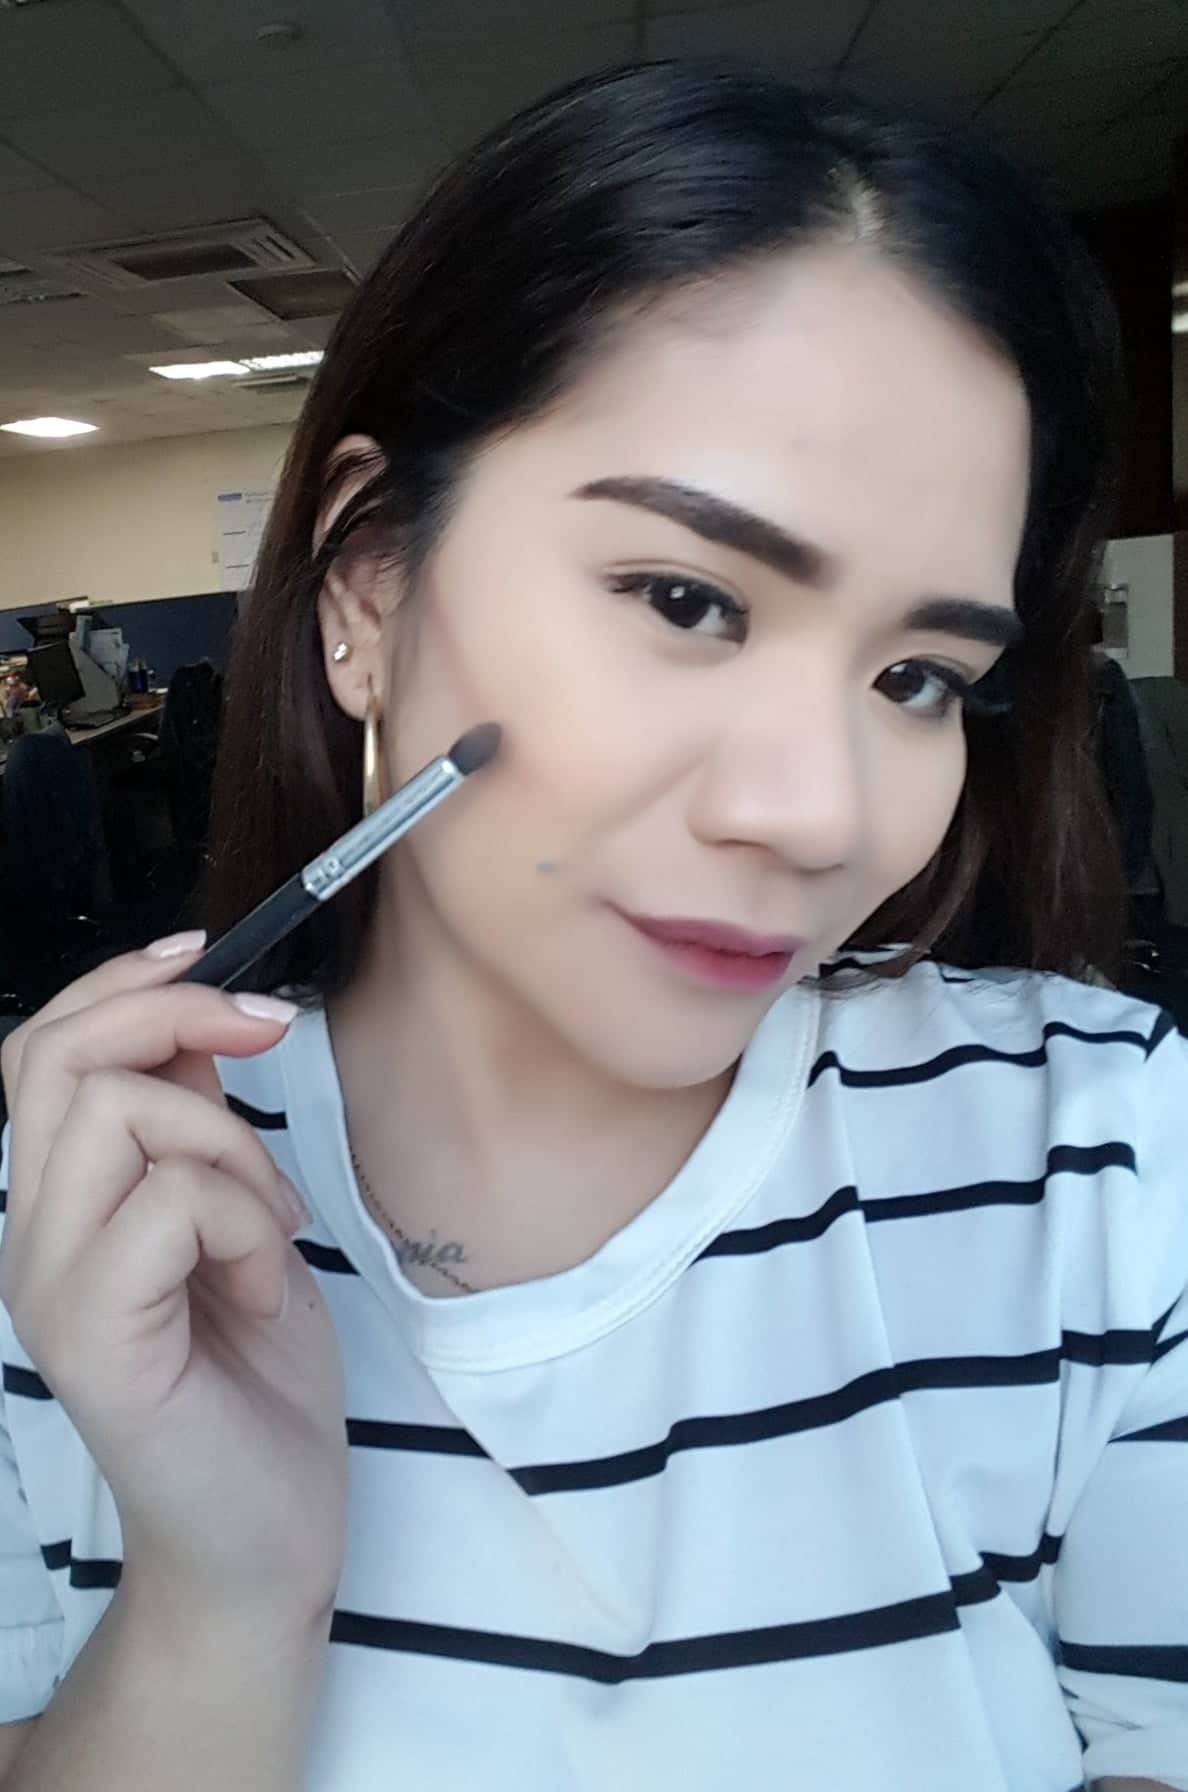
Swipe a line from your ear to the apple of your cheek
Step 2: Define your jaw
Define your jaw by reloading your brush with powder, tapping off the excess product, and blending along the edge of your jawline. Swirl the brush in your jaw’s base all the way to your chin.

Blend along your jawline
Step 3: Blend Well
To achieve natural-looking contour, be thorough with the blending. Make sure to not simply leave your jaw rimmed with taupe powder. Swirl the concealer powder beneath your chin and extend downward, all the way down your neck.
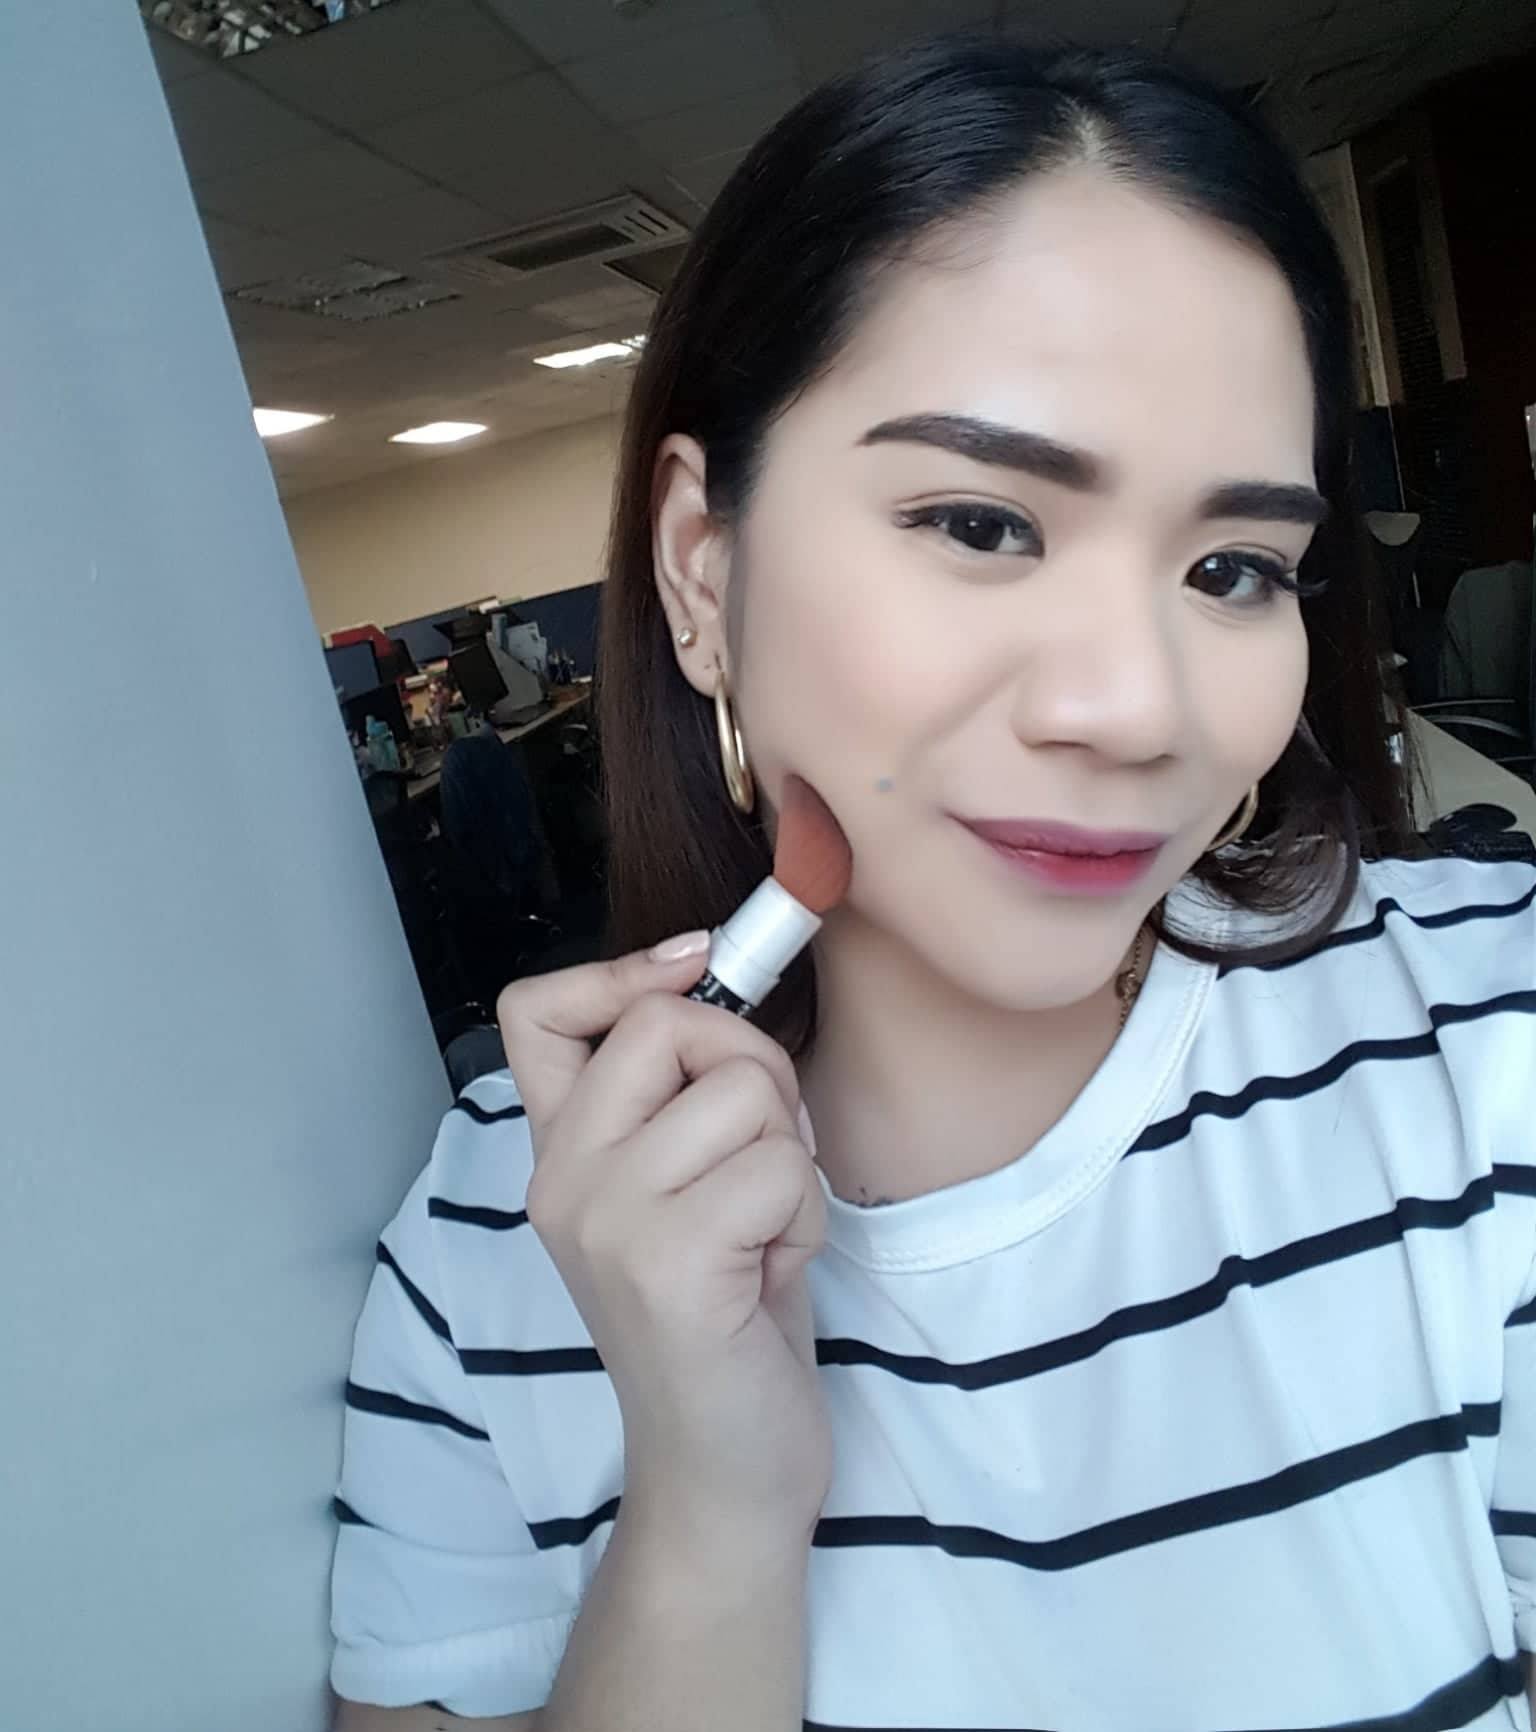
Blend, blend, blend!
Step 4: Define your Hairline
Even the edges of your forehead can use some good contouring, especially if you have an oval-shaped face. Get more powder, tap off the excess, swirl it on your forehead – stay close to the hairline.
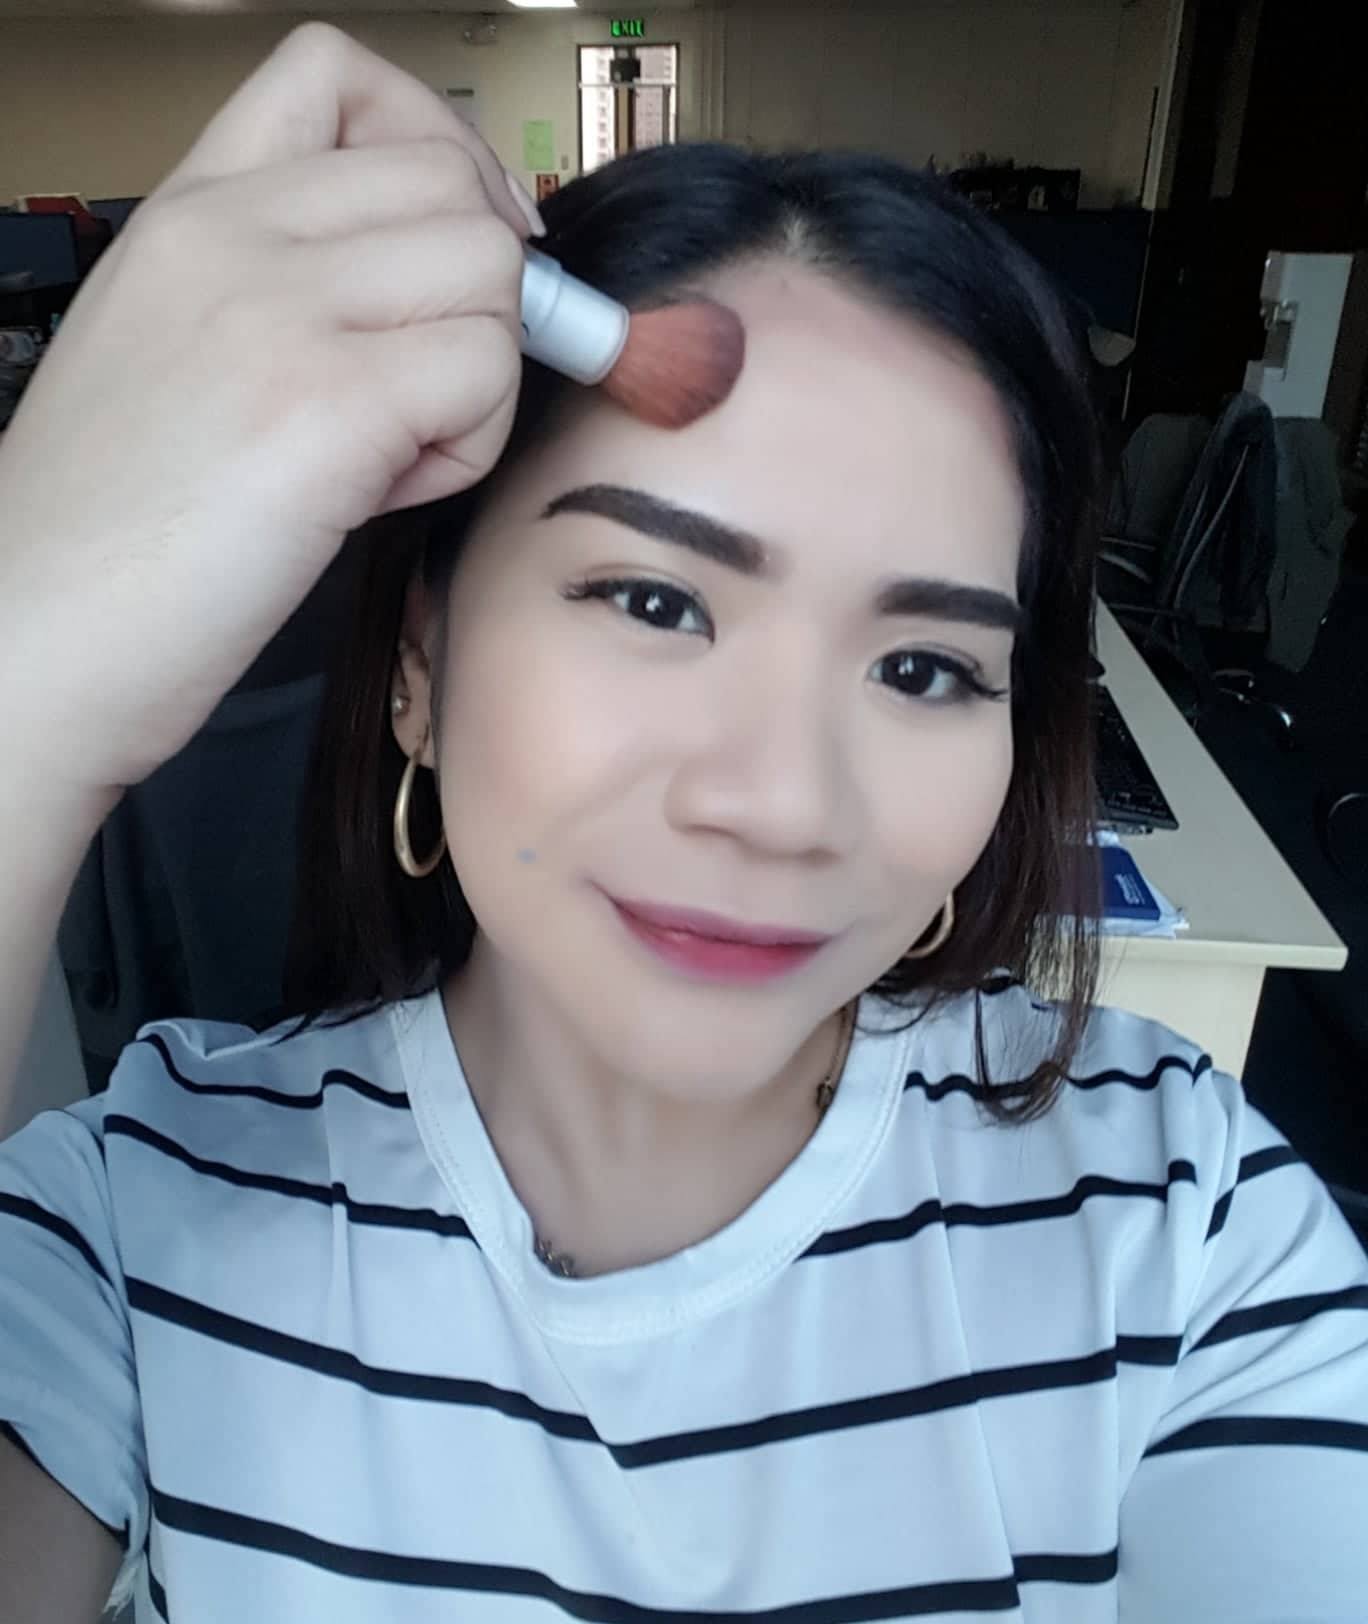
Make sure to stay close to your hairline!
Step 5: Chisel your Nose
Using a small brush, trace a line down the sides of your nose. Using a light hand, blend it down to the tip, and then back up until you hit the edges of your eyebrows.
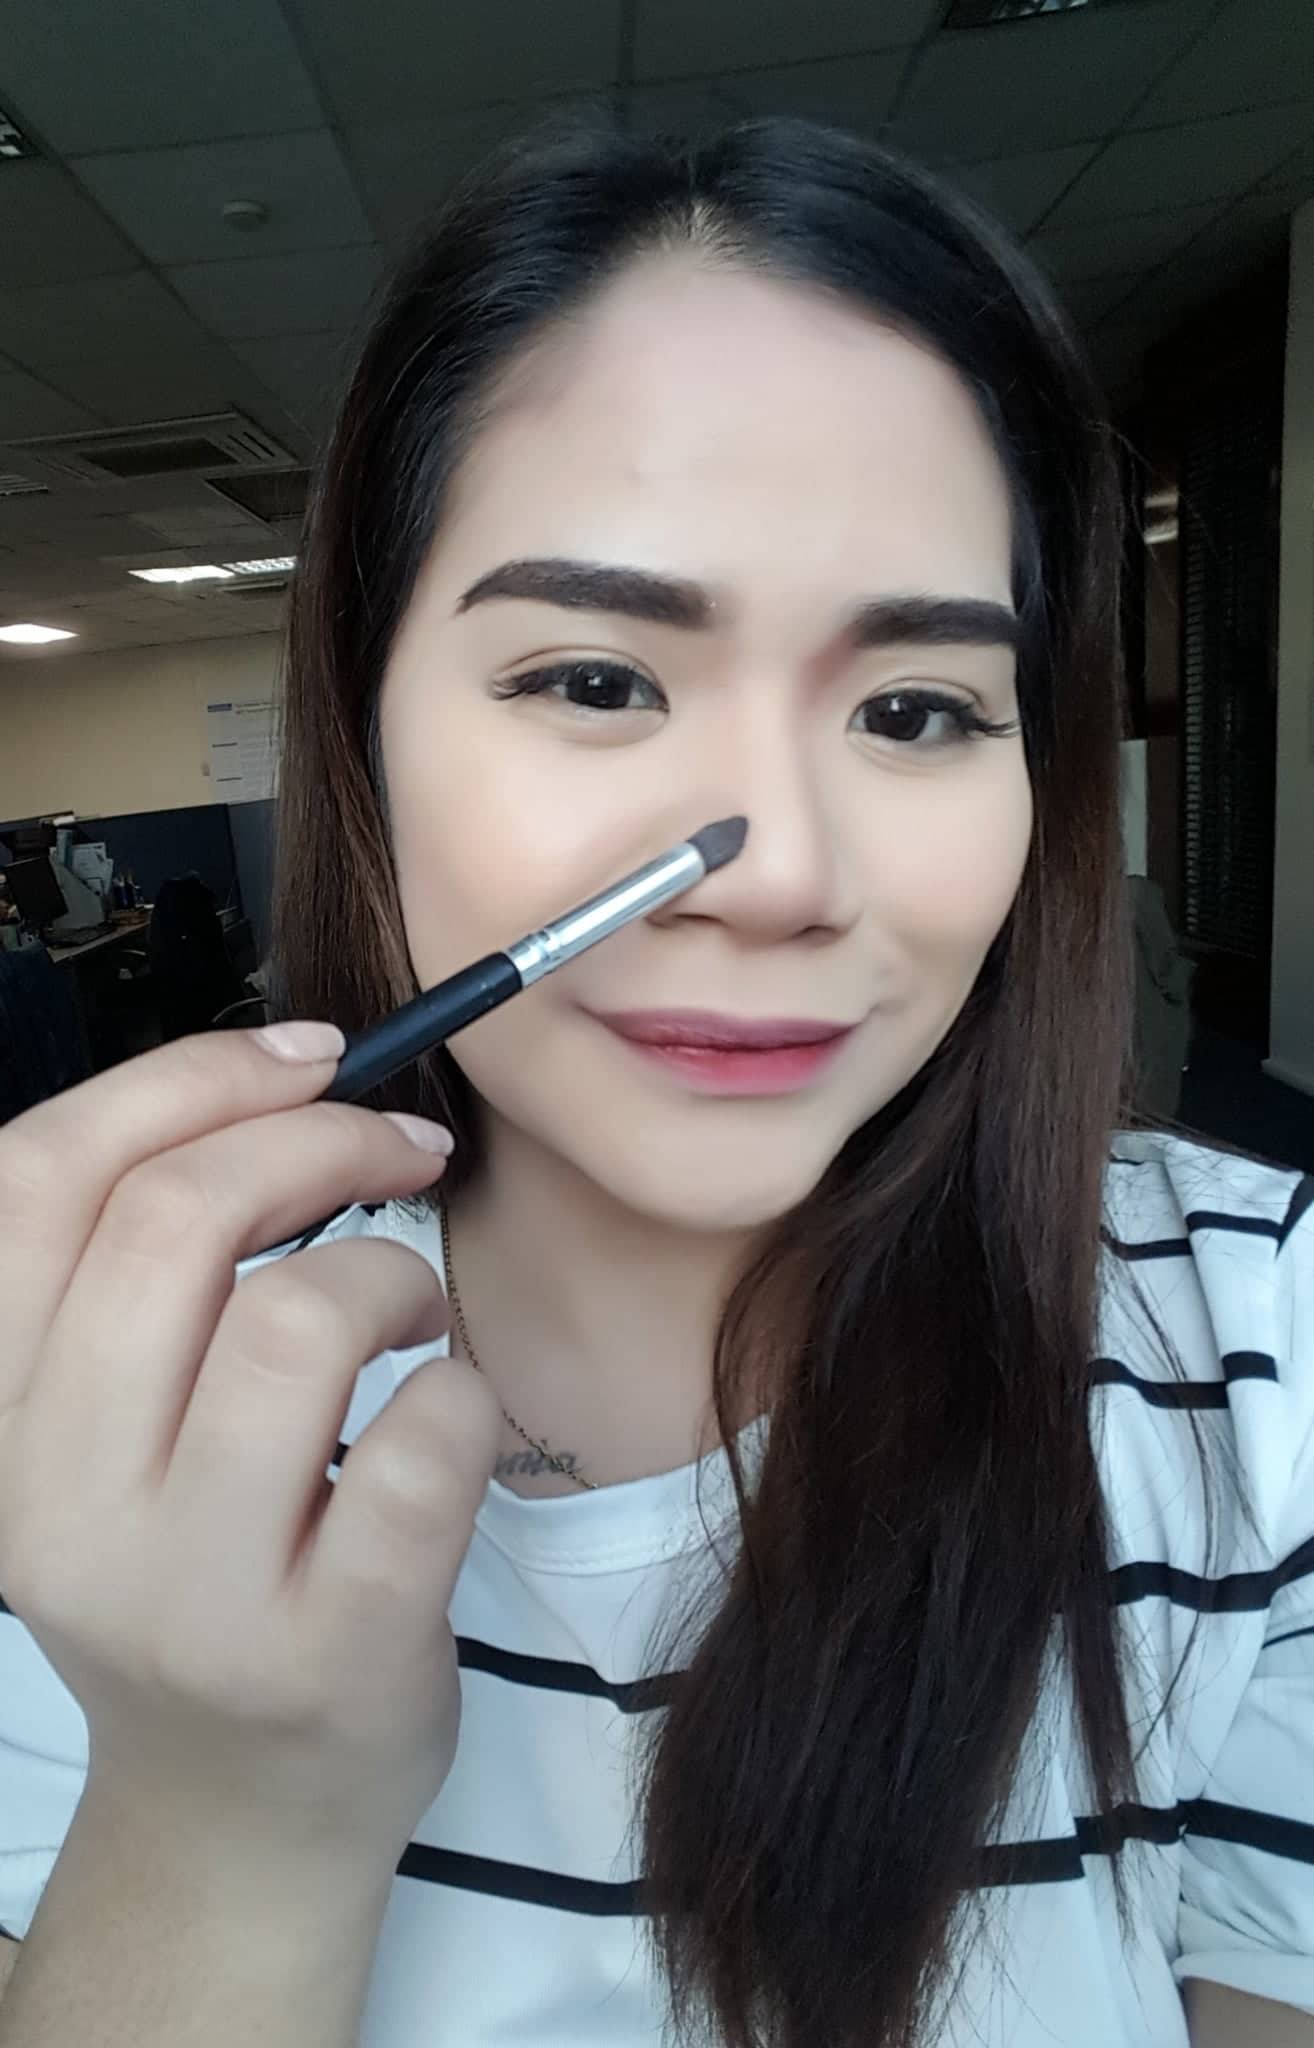
Draw a line down the edge of your nose
Step 6: Add the Blush
A rosy cheek softens your contour and makes it look more natural. Using your blush brush, swirl a silky blush powder over the apples of your cheeks and blend it in up to your temples.
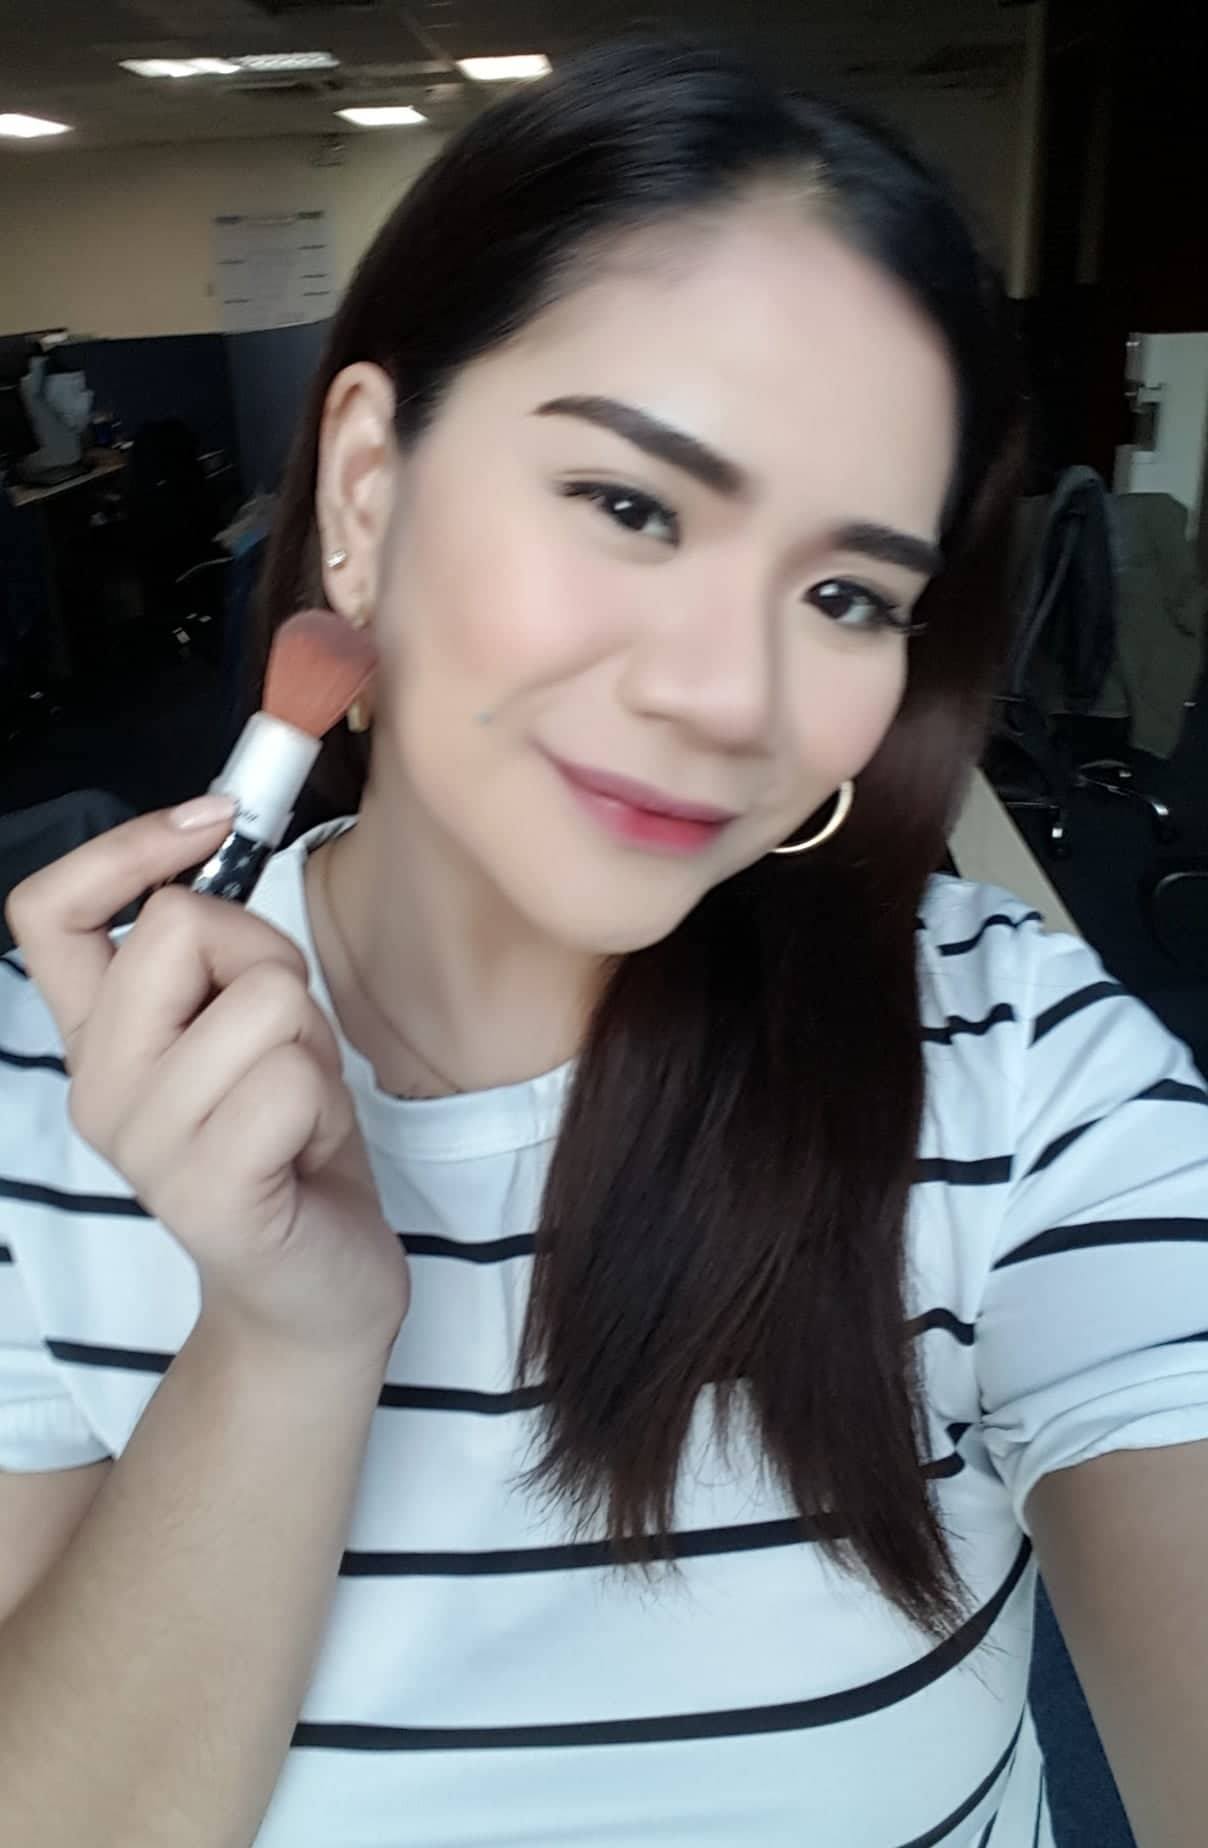
We love tangerine-colored cheeks <3
Step 6: Highlight (Optional)
You’re really good to go once you’re done with all five steps, but if you want a glam look or to create a fresh, dewy effect, a highlighter is your best friend. Swipe some product on the high points of your face (I applied mine on the tops of my cheekbones and the tip of my nose), and blend away.

Go easy on the contouring powder
Step 7: Show off your (newfound) high cheekbones!
The secret to cheekbones that look like they’re just naturally there is to blend all the products well. Go easy on the contouring powder: putting too much product is a surefire way to look like your features have been drawn in.

What's Your Reaction?
Pint-sized Pinay. Writer by day, mermaid by night. Loves coffee, elephants, and the old book smell. Adoptive Mom to Churro, Laya, Alab, Chelsea, and Ivory, who all have four legs.
